

Calendly
Connect Calendly to let your agent book appointments
With Calendly connected, the agent can offer customers a booking link, show free times and manage appointments — right in the chat, on WhatsApp or on the site widget.
Before you start
- An active Calendly account
- An agent already created (create your agent)
How to connect Calendly
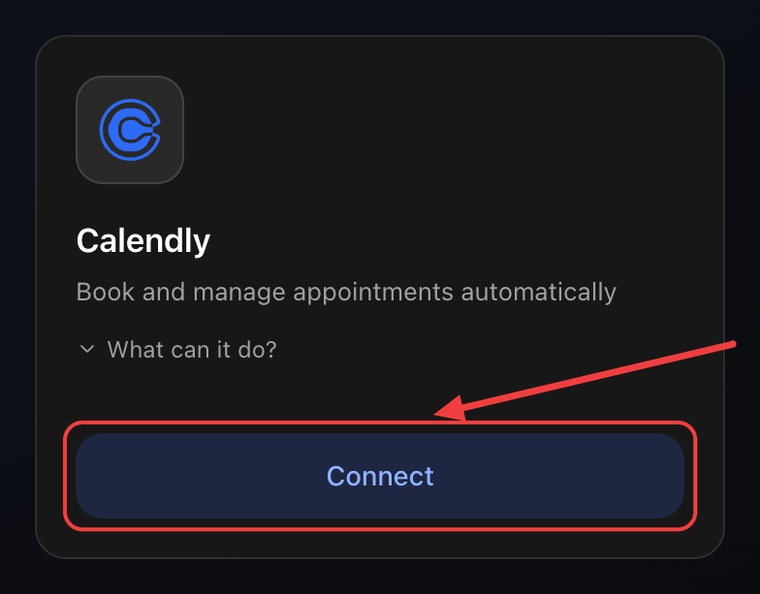
1. Open the Integrations tab and click Connect
Go to Agents → your agent → Settings → Integrations tab. On the Calendly card click Connect.
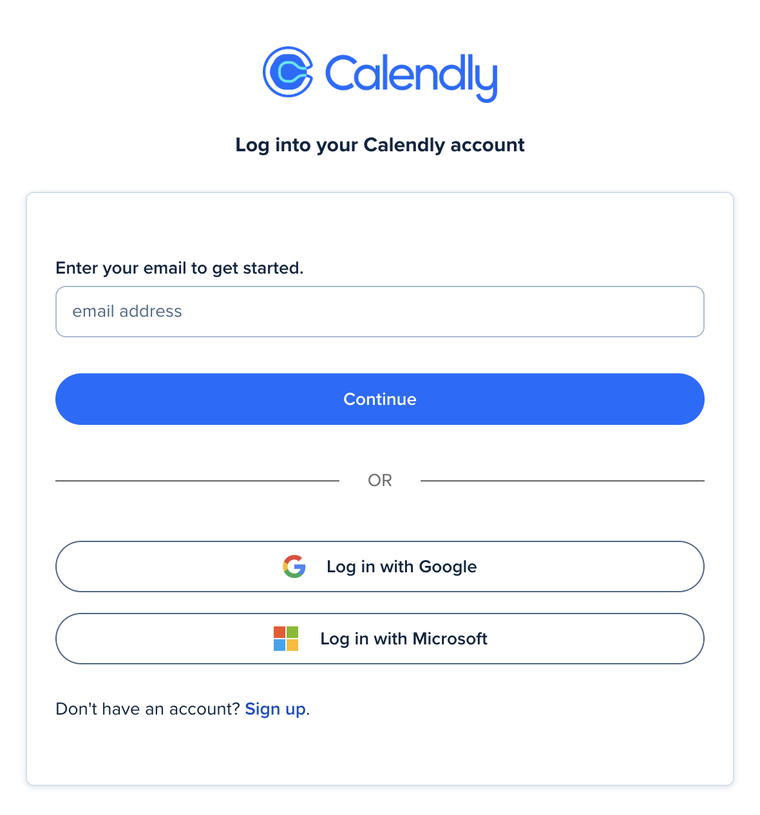
2. Sign in to your Calendly account
In the popup, sign in to your Calendly account. You can use email and password or Google or Microsoft, depending on how you signed up for Calendly.
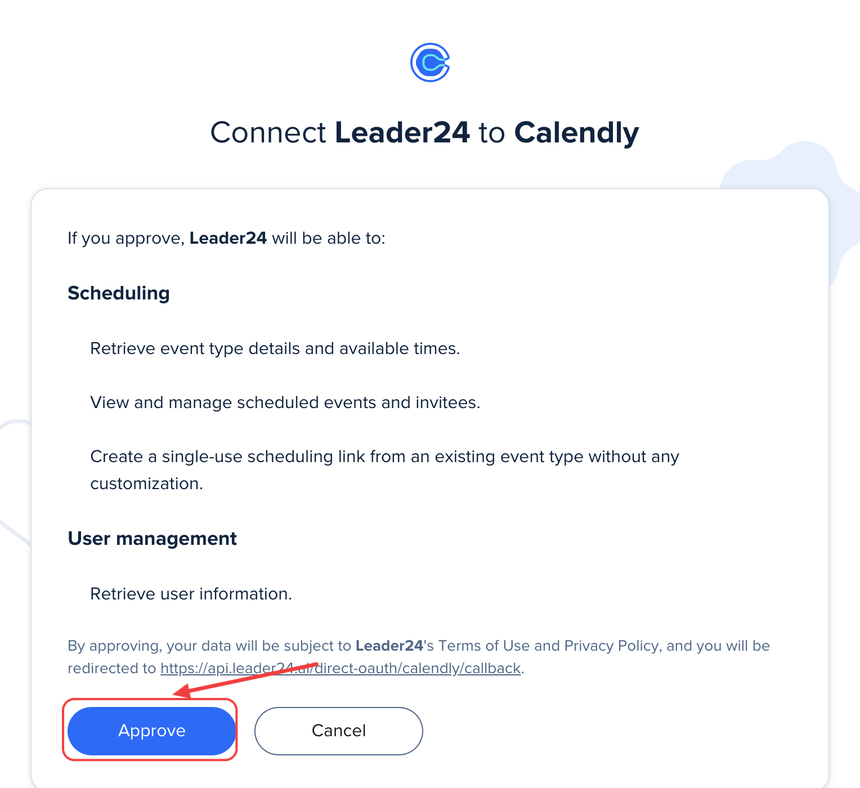
3. Authorize Leader24
Calendly shows you the permissions the agent will have (read event types, manage appointments, create booking links). Click Approve to authorize.
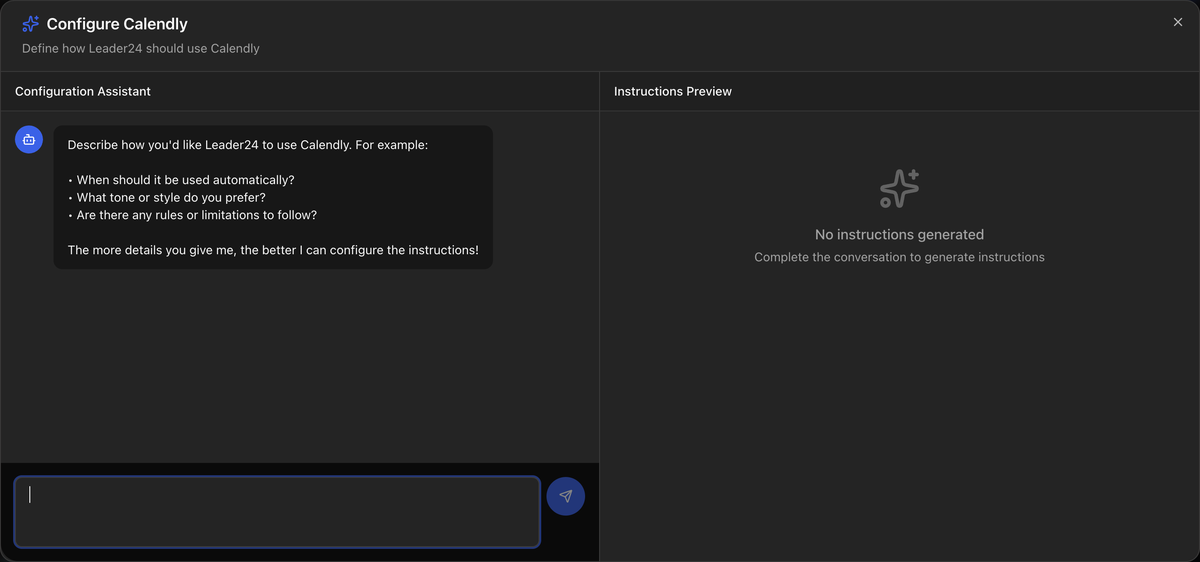
4. Configure the instructions
You return to the dashboard and the Configure Calendly window opens: an assistant helps you define how the agent should use Calendly (when to offer booking, with what tone, with which rules). Describe your preferences and save.
Done: the card shows Configured and the agent can use Calendly.
What the agent can do
- Create booking links to send to the customer
- Check availability and show free times
- Show the event types you've set up on Calendly
- See the appointments already booked
- Cancel an appointment on request
- Reschedule an appointment on request
Tips
In the instructions (step 4) explain when to offer booking (e.g. "when the customer asks for a consultation, send the Calendly link"). The more specific you are, the better the agent knows when to use the integration.